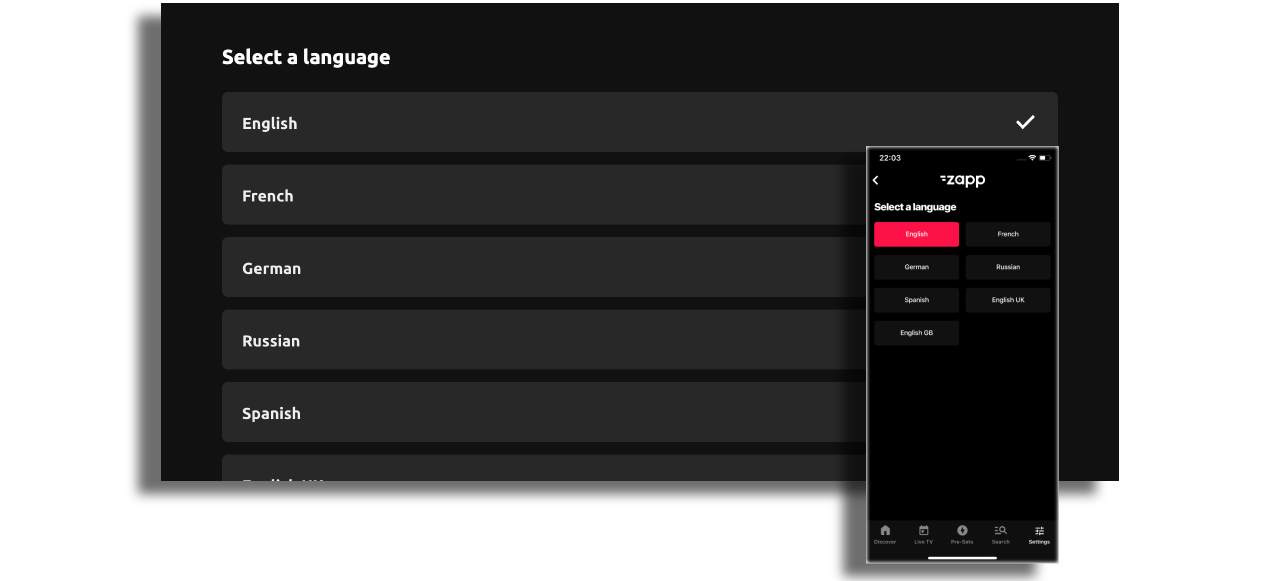
Language Selector
The Language Selector allows users to change the language used within the application when multiple languages are supported.
Legacy Language Selector is still supported
Prerequisites
Before adding a Language Selector, make sure the app includes all the languages it needs to support.
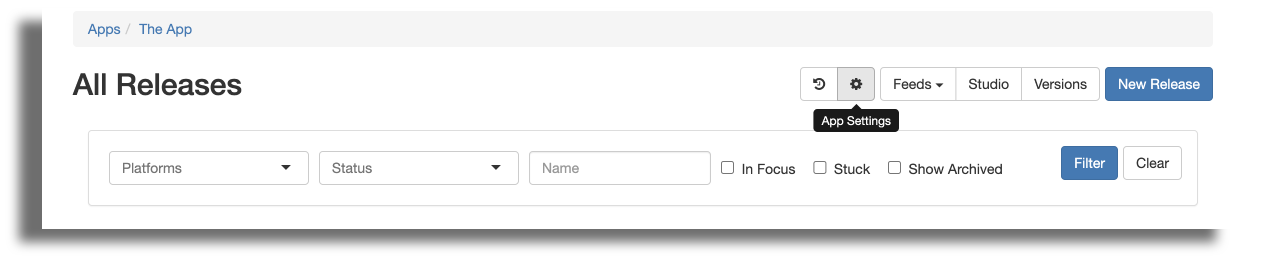
- Open App Settings
- Add the relevant languages to the application
- Create endpoint and feed:
pipesv2://language_selector

In order to change the content that comes from your CMS, adjust your DSP according to this article
Customizing Language Labels
The Language Selector screen labels (such as the screen title or button texts) can be customized via the Theme plugin.
To update these labels:
- Open the Theme plugin
- Navigate to the localization section
- Adjust the text as needed
Option 1: Using the Default Language Selector Feed
- Create a General Screen
- Assign the feed:
pipesv2://language_selector - Assign a cell style
- Save and publish
Option 2: Using a Custom Feed
Custom feeds can be used when you want to display images or fully control the structure of the Language Selector.
{
  "entry": [
    {
      "id": "b86703d5-8a66-4a65-a8f0-87143859c989",
      "title": "EN",
      "summary": "English",
      "extensions": {
        "tag": "en"
      },
      "type": {
        "value": "action"
      }
    },
    {
      "id": "8d9f3542-50b7-4566-be7d-422b40a7db6d",
      "title": "FR",
      "summary": "French",
      "extensions": {
        "tag": "fr"
      },
      "type": {
        "value": "action"
      }
    }
  ],
  "extensions": {
    "role": "language_selector"
  },
  "type": {
    "value": "feed"
  }
}
When using a manual feed, the action type must be selected from the drop-down list.
This type does not need to be mapped in the CMS like other type values.